


Yarn circuitboards


As we all know, 3D printing was invented in the 19th century by an underground network of housewives from Holland. These women figured out that any 3D shape could be obtained by twisting and twining a piece of thread, growing layer by layer into the desired object. The construction plan was encoded in a set of instructions, mostly a series of numbers, that could be shared freely with the community of hackers and grandmas. This practice evolved for some time, and before you know it someone has built a life-sized copy of your entire village out of wool.
In parallel, in the last decades, a thriving maker culture has emerged around high-tech tools like CNC mills, laser cutters, (plastic) 3D-printers and so on. It is surprising that you don't see yarn techniques like crochet or knitting so often in maker labs. They would totally fit there: crochet can be used for the most unexpected things, patterns can be shared and tweaked ad lib, and once you know how to crochet, the range of objects you can construct yourself expands by a great margin. It also has a very high nerd-appeal.
The current crochet community is a mix of bona fide grandmas and hipsters. It is still mostly separate from the rest of the maker culture. There are not many people who can wield both the crochet and the soldering iron. It’s time to change that.
Crocheting a circuitboard
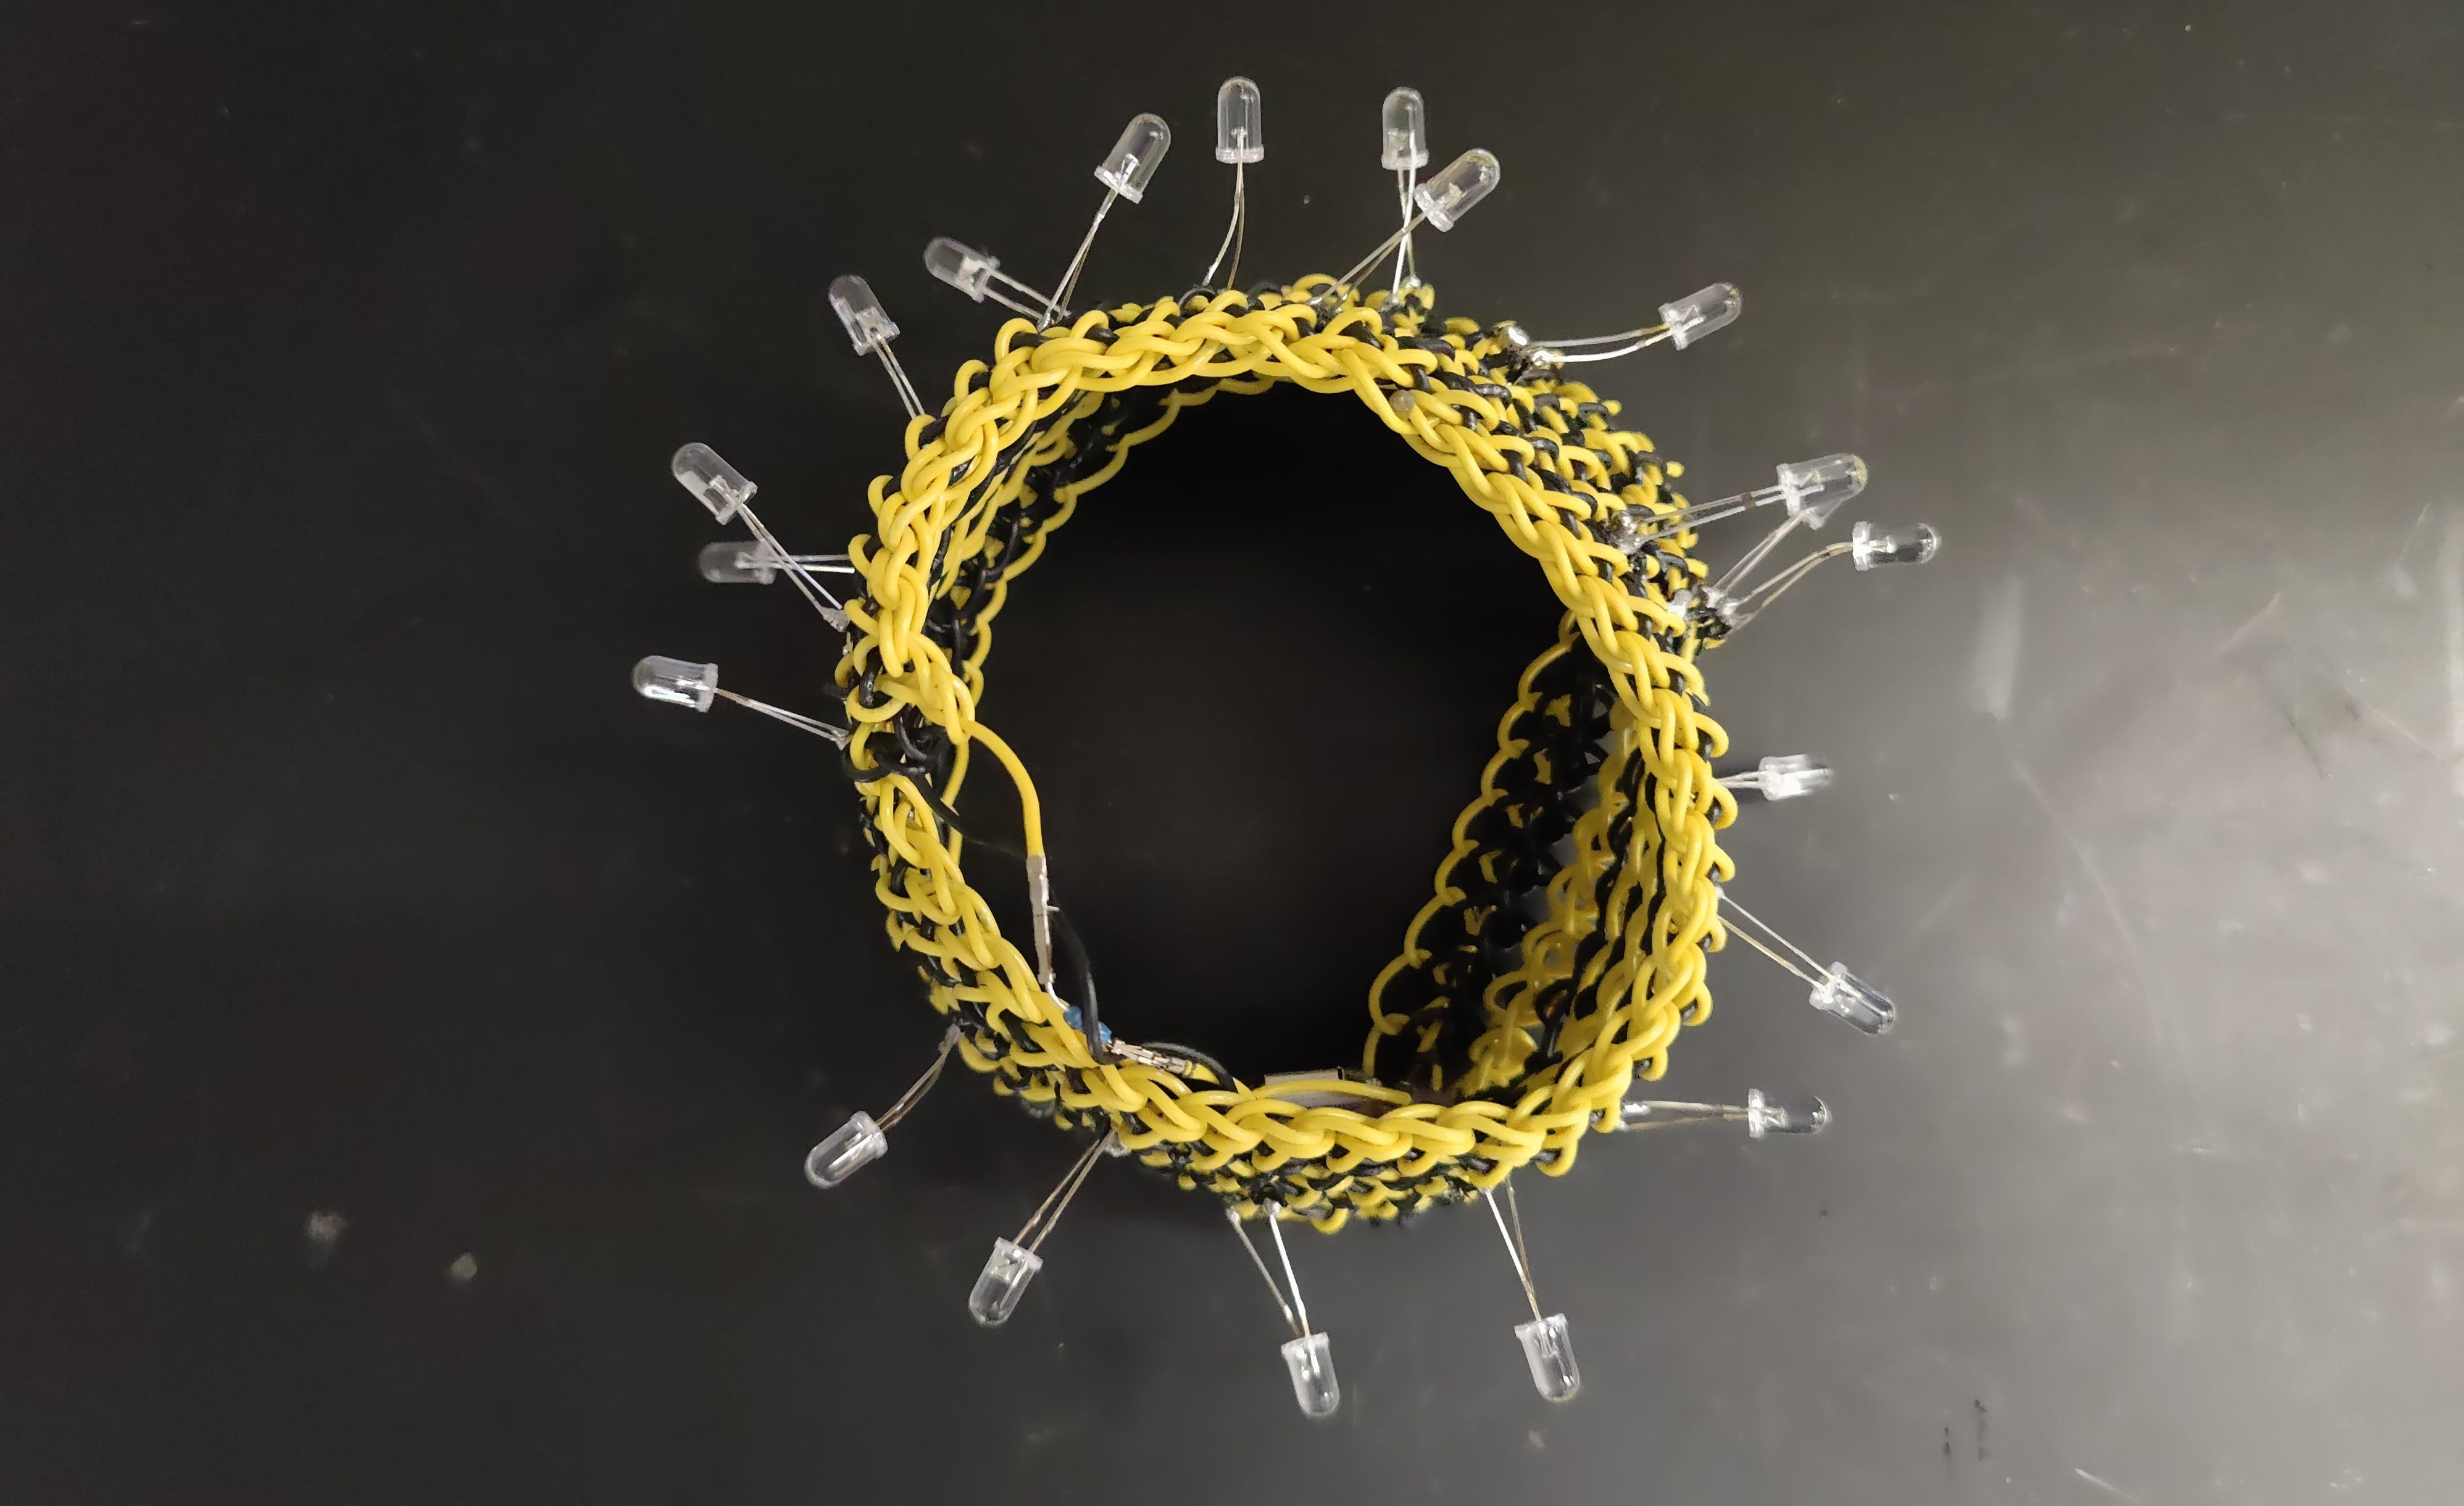
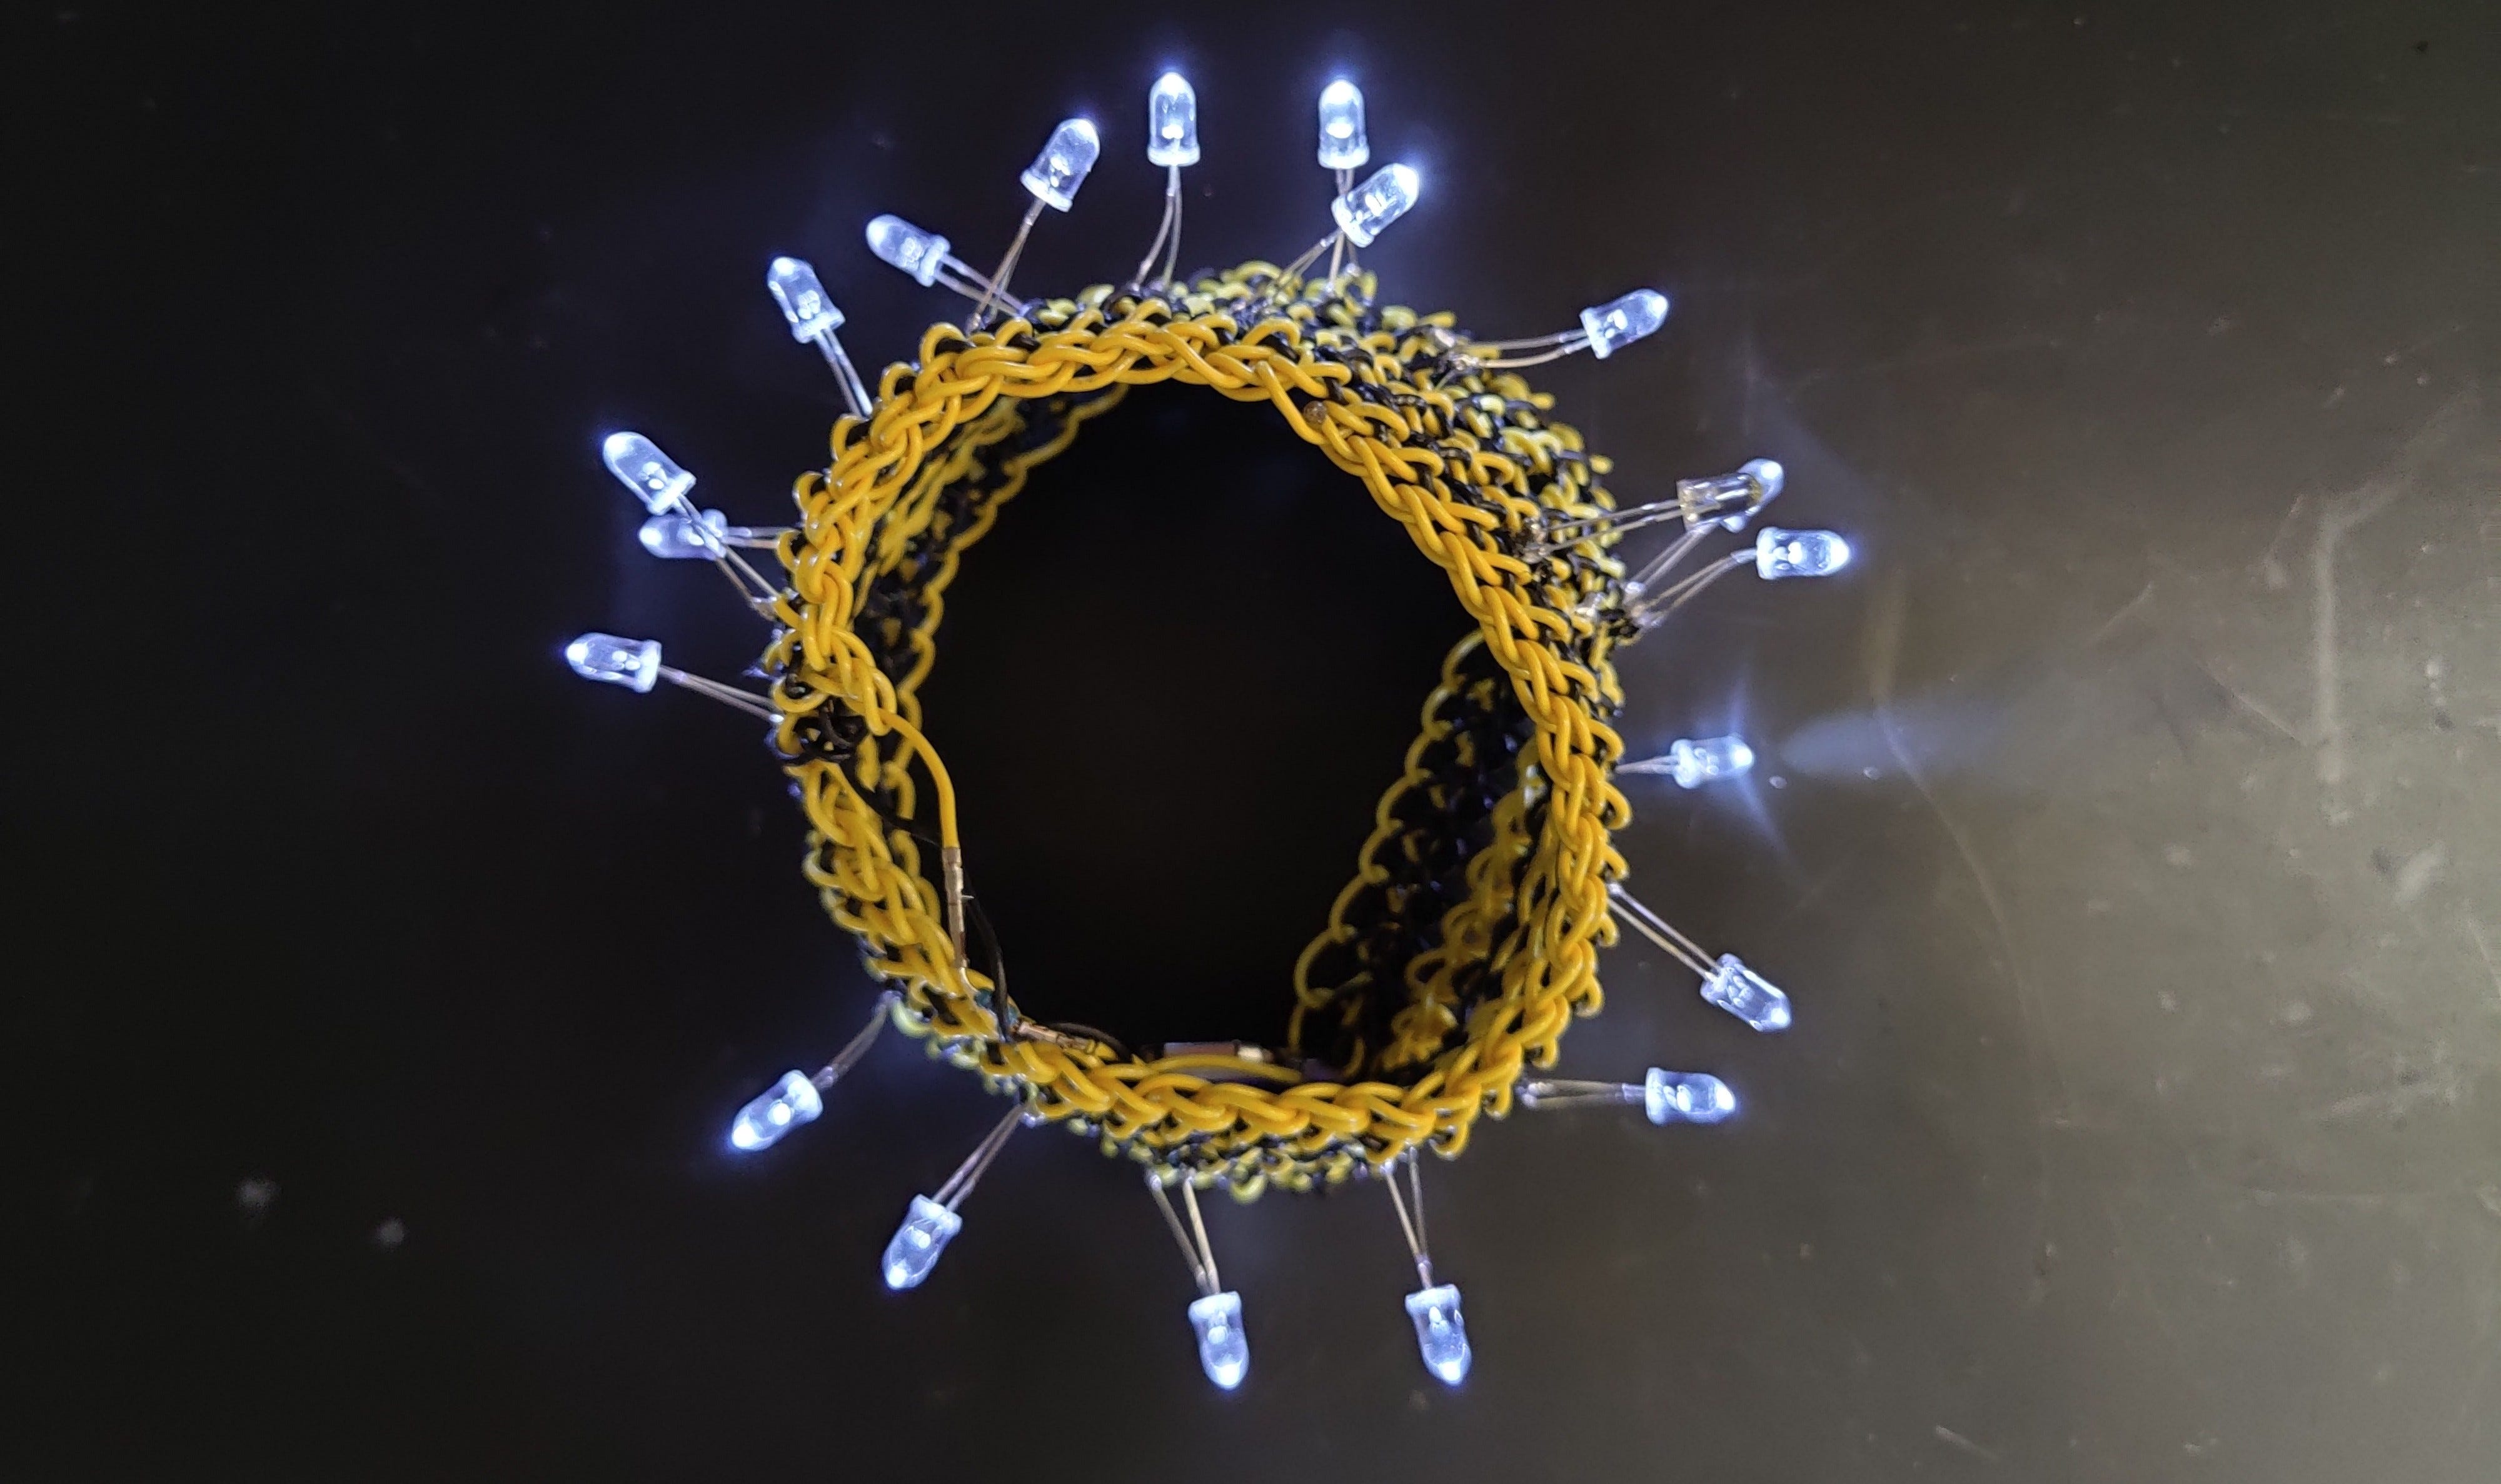
So far, most of my crochet projects were normal stuff like scarves and figurines, made from normal wool or cotton. I wondered if one could replace the yarn with electric wires, and then plug in various electronic components to make a circuit. My plan was to make a luminous armband that I can wear while riding my bike.
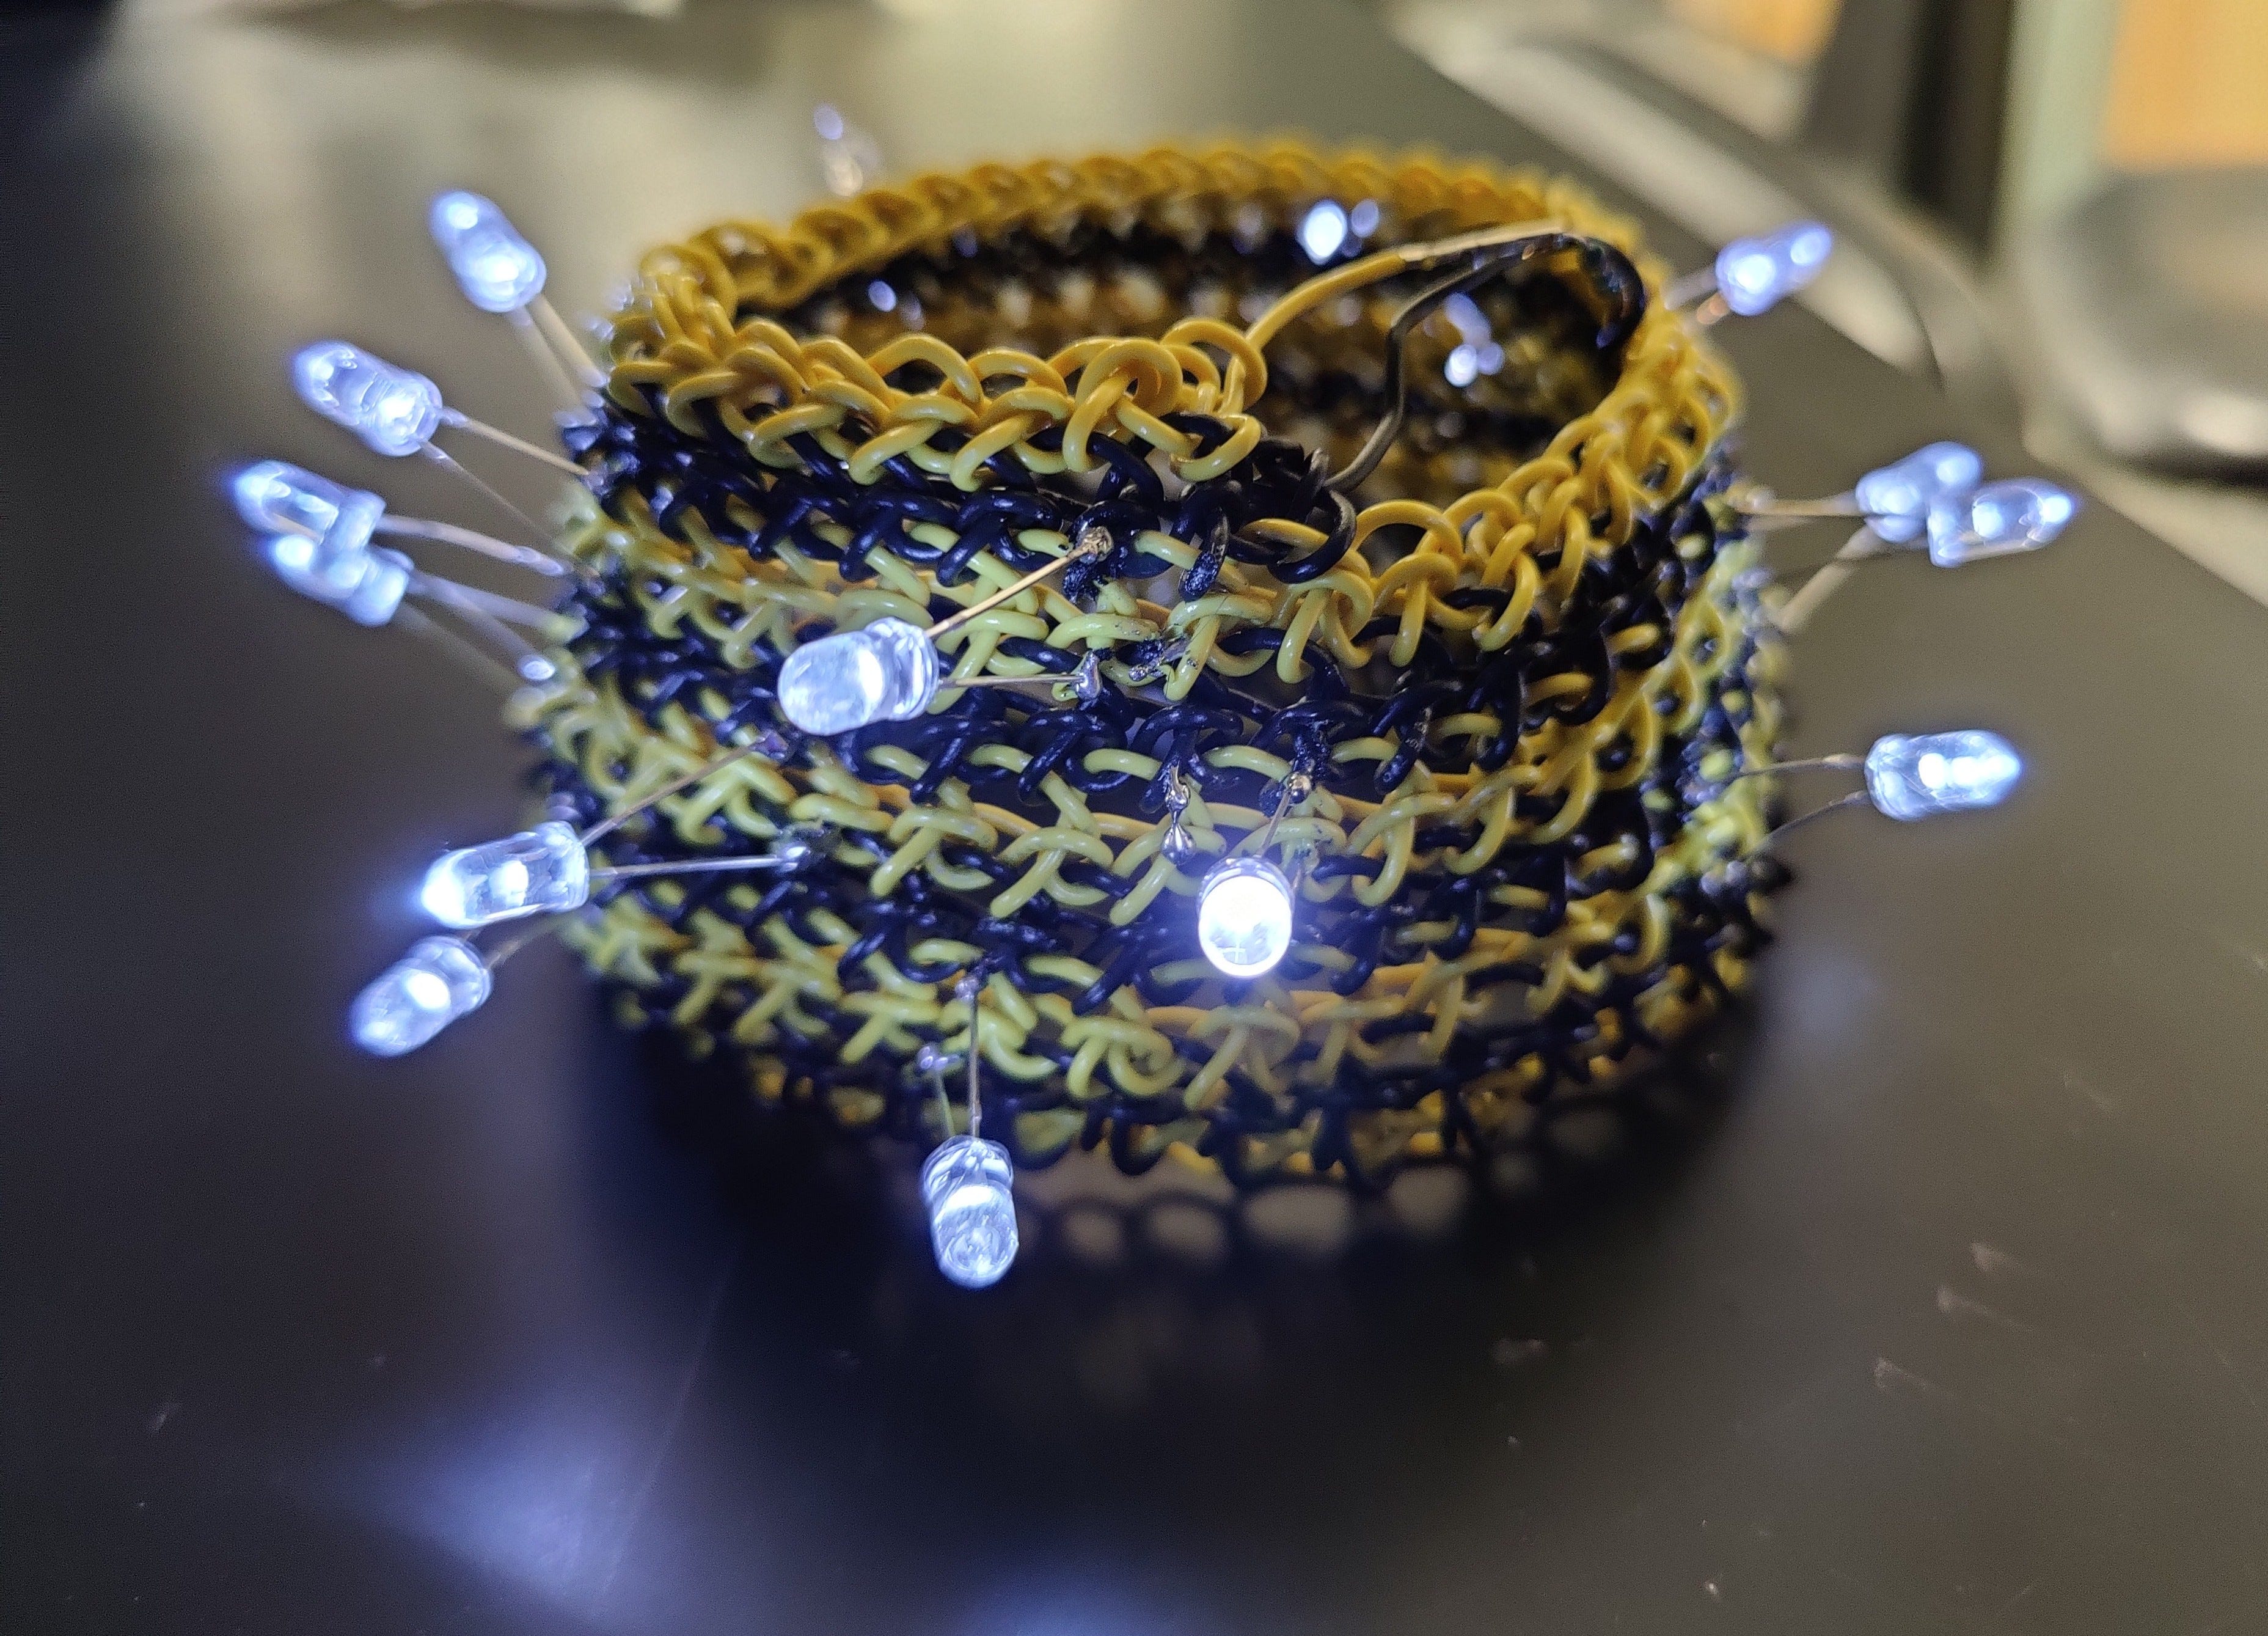
To make a closed circuit, I took two pieces of wire and plugged them into a battery, with a switch and a resistor. I crocheted the two wires into a double-helix, kind of like the stairs of Chambord, to make a cylinder. Then I just burned through the sheath with the soldering iron and somehow attached LEDs with one leg on each wire, using generous amounts of solder. This way the LEDs are mounted in parallel1.
I'm using using black and yellow for the negative and positive wires respectively, mostly because those are the wires that happened to lay on my desk when I started the project. Also, yellow fits well with the whole bicycle visibility equipment idea.
Hopefully this will prevent drivers from cutting me off. Also, cutting me off would be a clear violation of the NAP. You don’t want to do that to a guy wearing a yellow-and-black armband.
(that’s in theory. In practice this fragile little object would definitely break on the first day, so I’ll just keep it on my shelf as an “I tried” trophy.)
If you are going to do this
Here are some pieces of wisdom I’ve acquired while making this.
Find the thinnest, most flexible wire on the market. Folding the wire with a crochet is harder than it looks.
Don’t do that as your first crochet project. It may be a good second project though, as it allows to see clearly the topological structure of the entangled yarn.
Make sure you have protruding loops where you are going to put components. Solder them in a clean way, maybe using 3-ways connectors. The barbaric method I used here makes very fragile connections.
Please make a blinking ctenophora. You can also include a crocheted stress-sensor.
As for me, I will stick to scarves and figurines. My hands still hurt.
I was told this is not the right way to do it, but so far it does produce light, and that’s enough for me.